Engineers evaluating power components must reconcile datasheet numbers with measured behavior to avoid unexpected losses and thermal issues. This note uses 7847709102 as the reference part and explains how measured DCR and accurate current ratings drive reliability and thermal design.
Measured DCR and realistic current capability often differ from nominal specs due to batch tolerance, temperature, and soldering. Confirming DCR and derating early prevents elevated I²R losses, thermal climb, and field failures.
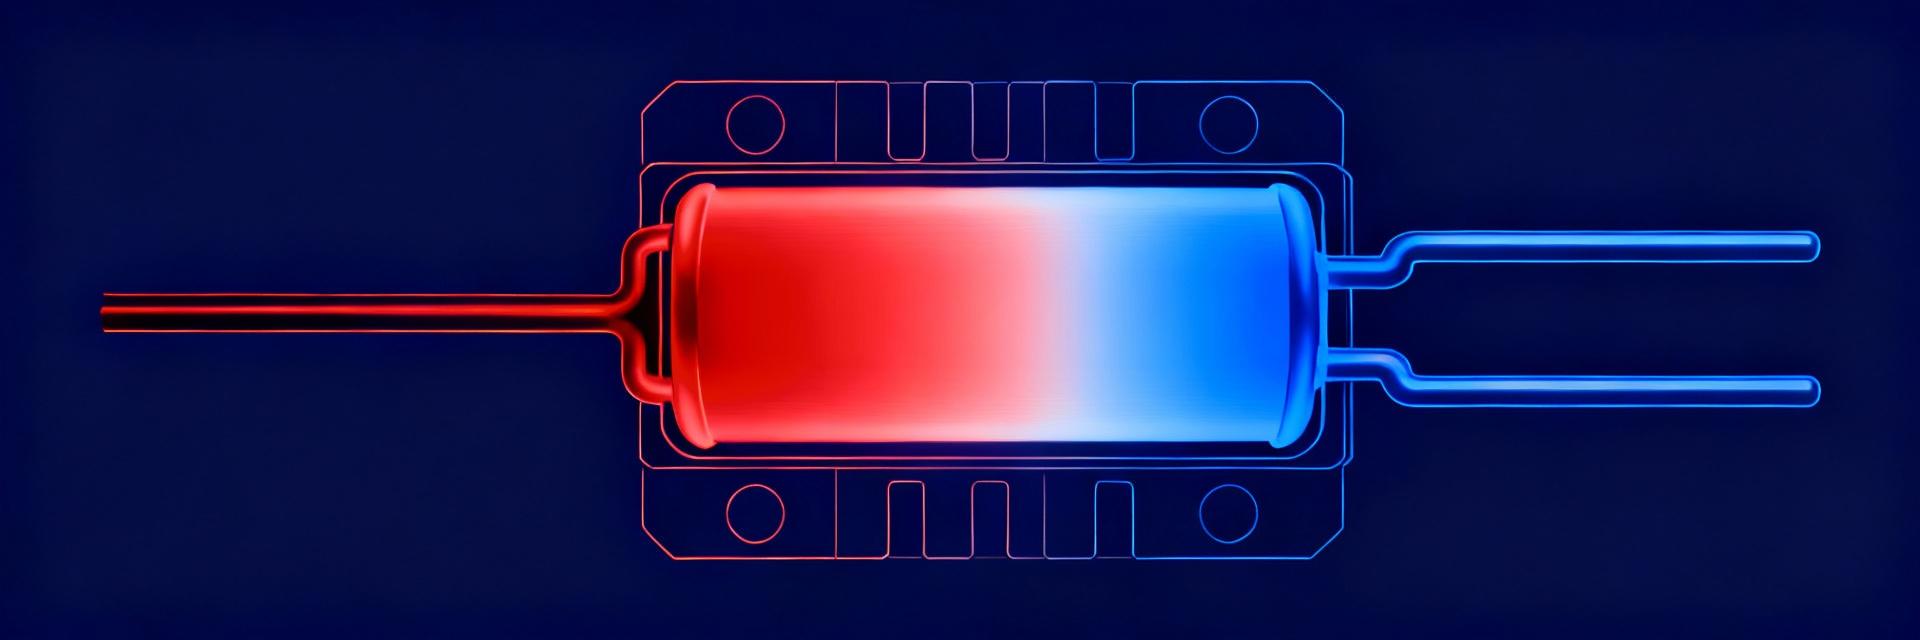
Quick Overview: The 7847709102 Component & Critical Specs
Component Role & Typical Applications
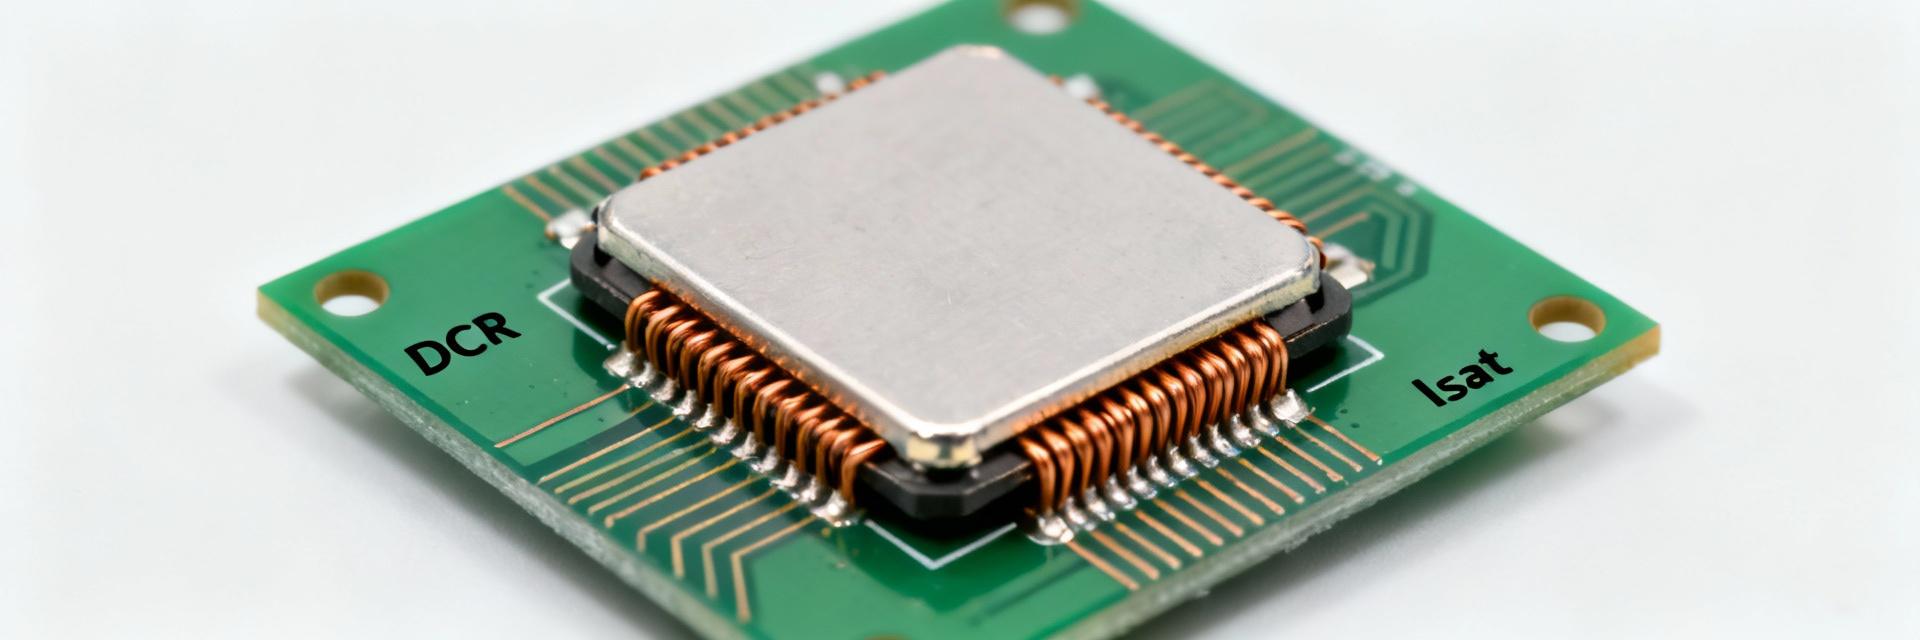
The part is a surface-mounted power inductor used in PMICs and buck converters. Designers place such inductors in power filtering, energy storage, and EMI control. DCR affects conduction loss and voltage drop; correct values are essential for efficiency and thermal margin in board-level designs.
Why Real DCR Differs from Nominal
Nominal DCR is a production average; real units vary. Manufacturing tolerance, winding geometry, plating, and measurement setup cause deviation. Rule-of-thumb: expect small batches ±5–20% variation; treat larger deviations (>20%) as suspicious.
Datasheet at a Glance: Key Specs
Essential Electrical Specifications
| Field | Parameters / Units | Design Impact |
|---|---|---|
| Nominal Inductance | µH (with test frequency) | Energy storage capability |
| DCR | mΩ (max/min) | Conduction losses (I²R) |
| Rated Current | Thermal limit (A) | Maximum steady-state load |
| Saturation Current | ΔL at spec % (A) | Peak current handling |
Mechanical & Environmental Considerations
Mechanical layout affects thermal performance. Package footprint, pad layout, and height determine the operating temperature. Larger copper areas and thermal vias reduce temperature rise and raise usable current ratings on PCBs.
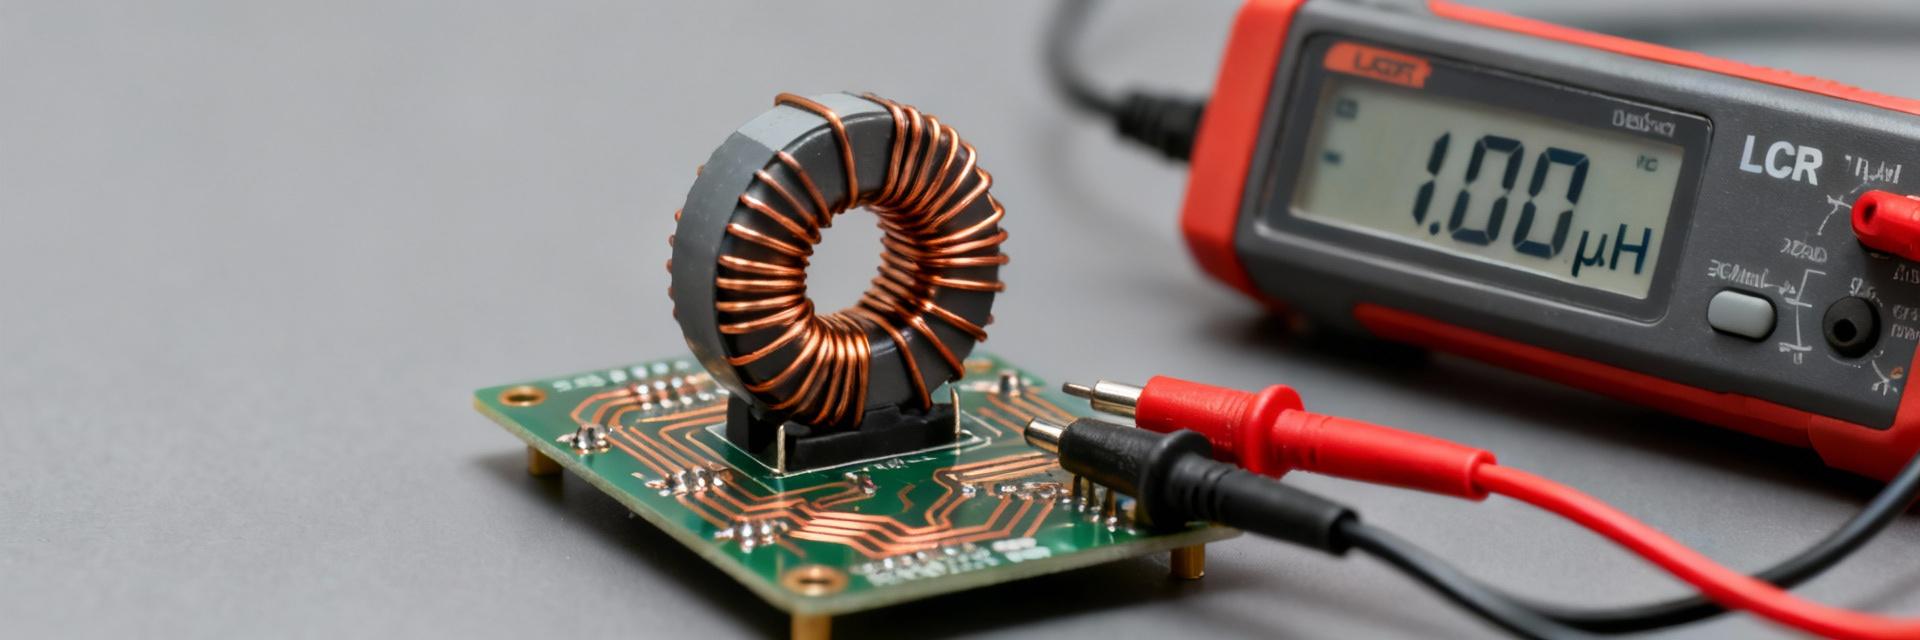
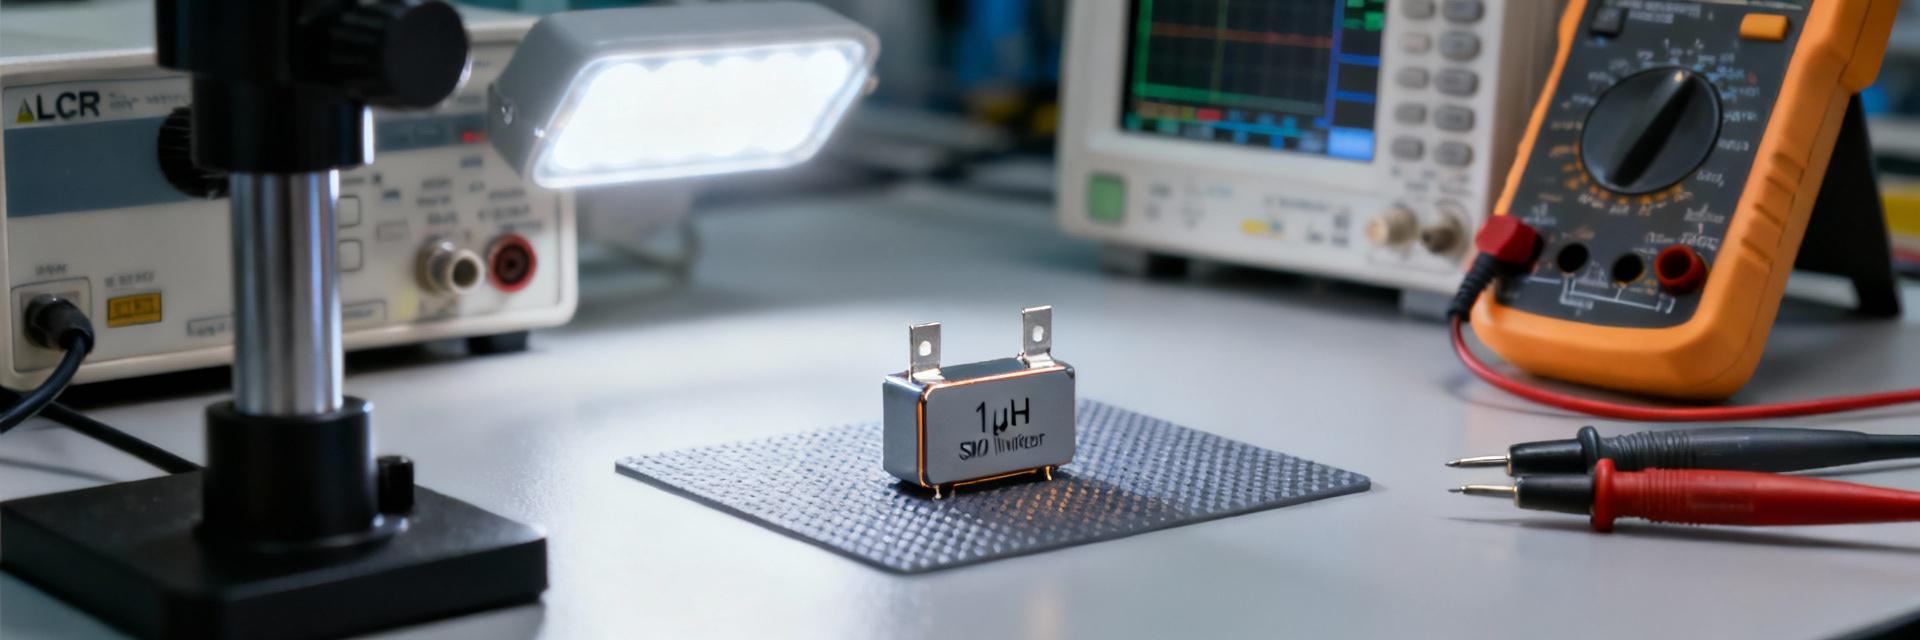
Measuring Real DCR: Best Practices
Recommended Setup
Use four-wire (Kelvin) measurement for accurate DCR. Utilize precision LCR meters with µΩ resolution and low-resistance fixtures. Stabilize samples to ambient temperature before testing and record standard deviation across the batch.
Avoid Pitfalls
Raw readings often include probe parasitics. Subtract fixture resistance and compensate for temperature. Report DCR at a defined reference (e.g., 25°C). Remember that AC vs. DC testing will yield significantly different results.
Interpreting Current Ratings
Designers must use both: thermal ratings prevent overheating; saturation ratings prevent circuit instability under peak loads. Add a design margin of 20–30% for production stability.
Validation Checklist & Test Plan
A compact validation plan speeds qualification. Log results in a CSV with the following steps:
- [✓] Sample Size: Test n=5–10 units per batch.
- [✓] DCR Kelvin: Measure at 25°C ambient.
- [✓] Current Ramp: Test up to rated thermal limit.
- [✓] Thermal Imaging: Confirm PCB heat distribution.
- [✓] Saturation Sweep: Verify L vs. I curve.
Selection & Replacement Guidance
When to tighten DCR: Tighten specs when efficiency or thermal budgets are tight. Calculate conduction loss using P = I² · R. If losses exceed targets, specify a lower DCR variant or increase current rating.
Supplier Requests: Ask for measured DCR at specific temperatures, test currents, and full thermal derating curves. Explicit test conditions in RFQs ensure supplier responses are directly comparable.