Many engineers lose time and risk project delays when a power inductor is chosen by part number alone. This quick how-to guide shows practical, testable steps to pick the right component for your design — using 784771100 as a worked example — so you can avoid common failures and speed validation with a reproducible checklist and bench methods.
Background: Why the right power inductor matters
Core functions and common failure modes
Point: In switching converters the inductor stores energy, filters ripple and interacts with EMI behavior.
Evidence: When an inductor saturates or runs hot, converters lose regulation and efficiency.
Explanation: Selectors must watch saturation current, DCR heating and resonance to prevent audible noise, thermal drift, or abrupt efficiency loss under transient loads.
Typical specs you’ll see and what they mean
Point: Datasheets list inductance (µH), Isat/Irms, DCR, SRF and package style.
Evidence: Inductance sets ripple; Isat defines peak handling; DCR drives loss and heating; SRF limits high-frequency use.
Explanation: Packaging and mounting influence thermal dissipation and ripple handling, so compare size codes and thermal derating when balancing footprint versus performance and use the phrase power inductor inductance vs saturation current when documenting trade-offs.
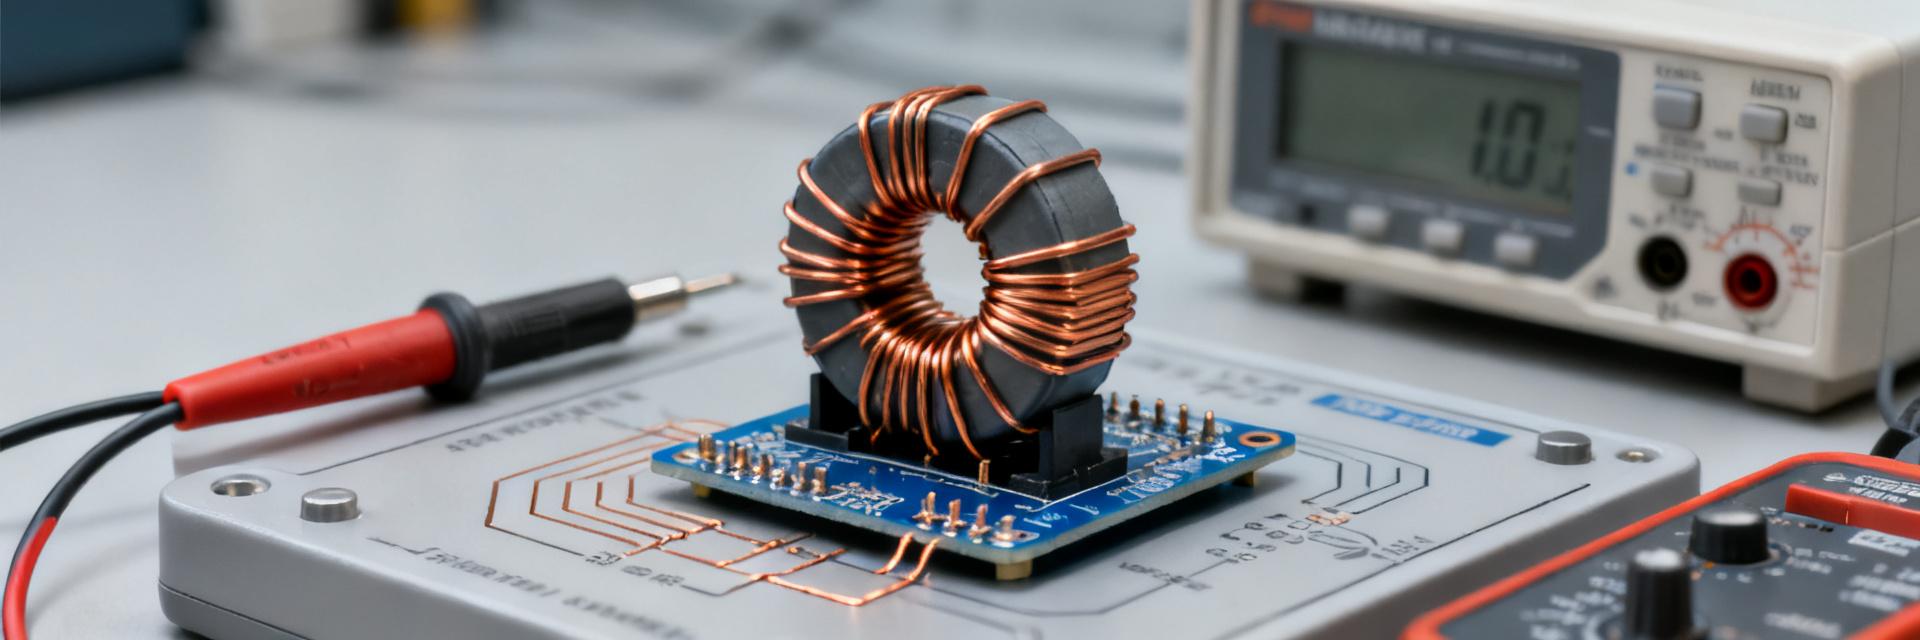
Data deep-dive: Key specifications to prioritize for 784771100-like parts
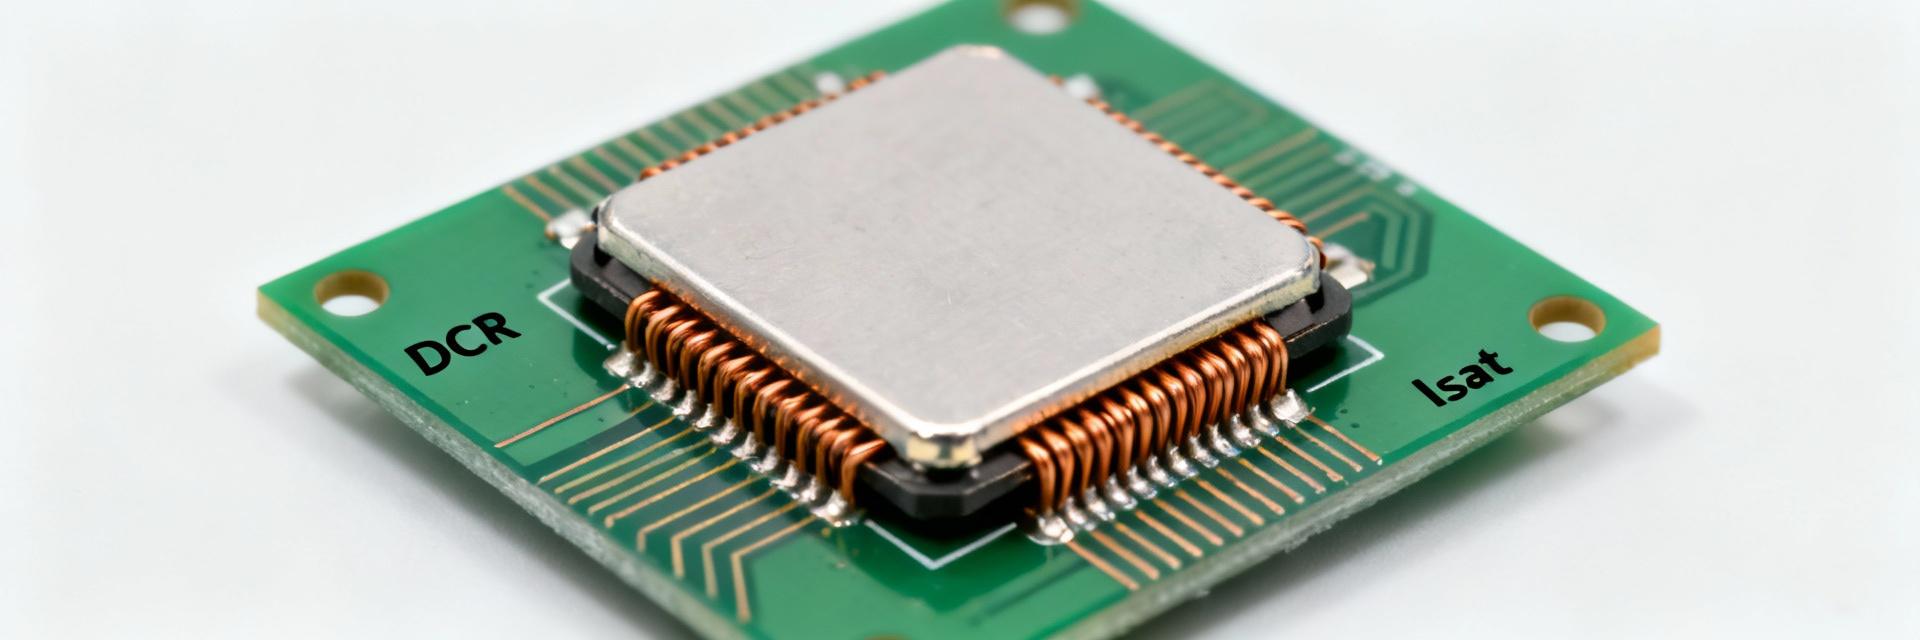
Electrical performance: inductance, current ratings, DCR, SRF
Point: Read inductance tolerance, Irms versus Isat, and DCR carefully.
Evidence: A part like 784771100 typically lists Isat at specified ΔL and Irms for thermal rise; DCR at 25°C predicts steady-state loss.
Explanation: As a rule, derate peak current by 20–30% to avoid saturation; low DCR improves efficiency but often increases size, so balance with system targets and measure L under DC bias to confirm behavior.
Thermal, reliability and frequency behavior
Point: Check operating temperature, thermal resistance and SRF on the datasheet.
Evidence: Core material and SRF determine high-frequency impedance; poor thermal paths raise winding temperature and accelerate aging.
Explanation: Aim for an SRF at least 2–3× above switching frequency, confirm thermal limits for your ambient and board layout, and prefer reliability grades that include thermal cycling or AEC-style tests when available.
How-to: Step-by-step selection method (practical checklist)
Step 1 — define system constraints and derating rules
Point: Capture operating voltage, switching frequency, peak/continuous current, allowable ripple, efficiency target and footprint limit.
Evidence: Writing these on a single-spec table prevents ad-hoc choices and guides consistent comparison.
Explanation: Use a derating rule choose Isat >= 1.2–1.5× peak inductor current; record margin rationale so bench results map back to selection choices during validation.
Step 2 — match electrical, thermal, and mechanical needs
Point: Prioritize Irms/Isat, then DCR (efficiency), then SRF, then size.
Evidence: Shielded parts reduce radiated EMI but can trade off DCR or inductance density.
Explanation: Trade-offs are inevitable—select 2–3 candidates that meet constraints, order small sample quantities, and plan bench tests focused on DCR, L vs DC bias and temperature rise before committing to a single supplier or reel.
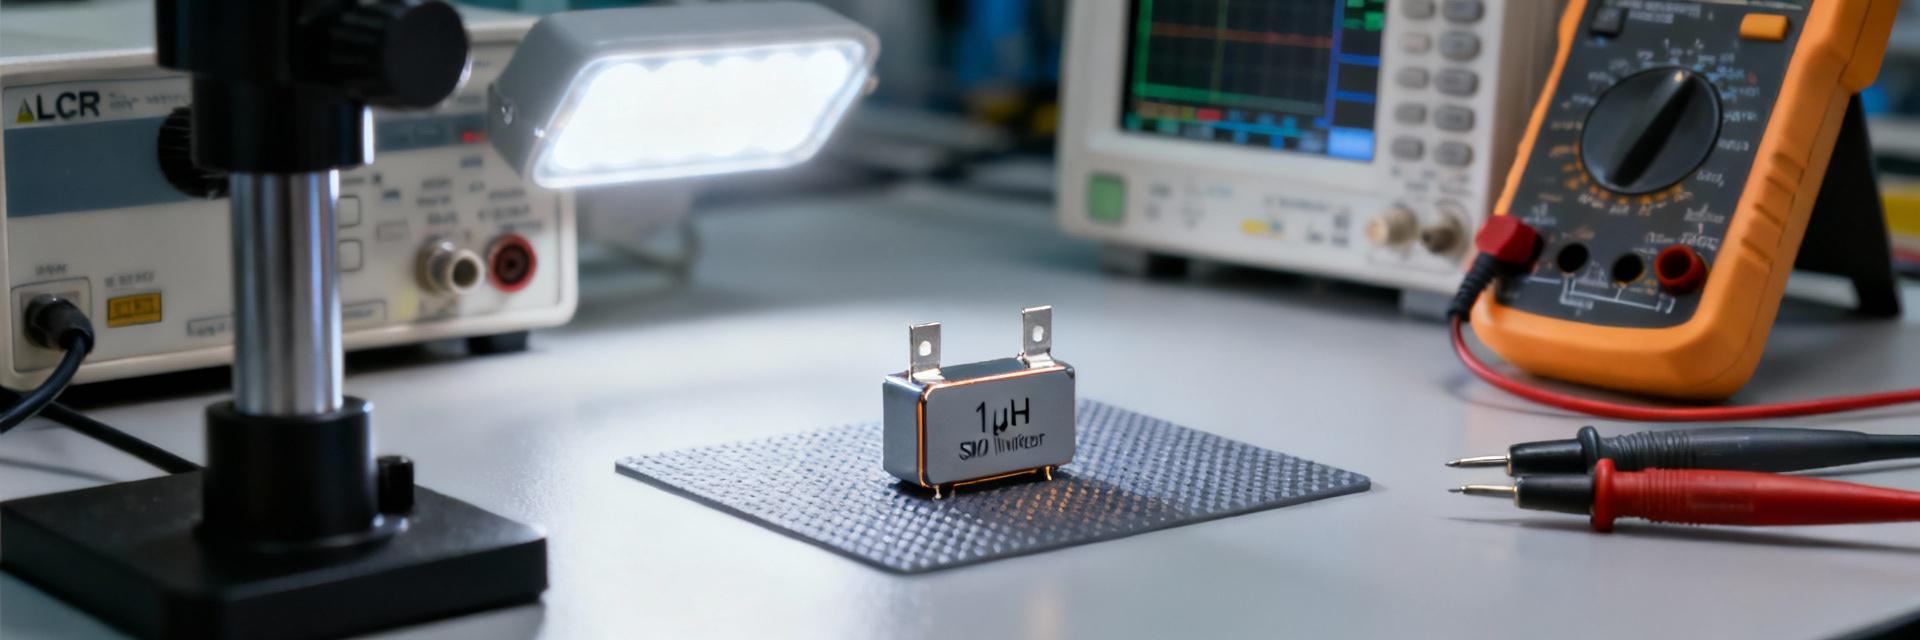
Action checklist: procurement, prototyping and verification tips
What to verify on datasheets
Point: Verify inductance at specified DC bias, Isat and Irms definitions, DCR at 25°C, SRF, operating temperature and dimensions.
Evidence: Mismatched definitions (e.g., Isat measured at 10% inductance drop versus 30%) can mislead selection.
Explanation: Request small sample reels, lot traceability and confirm part markings and packaging so PCB assembly and lot testing align with expectations.
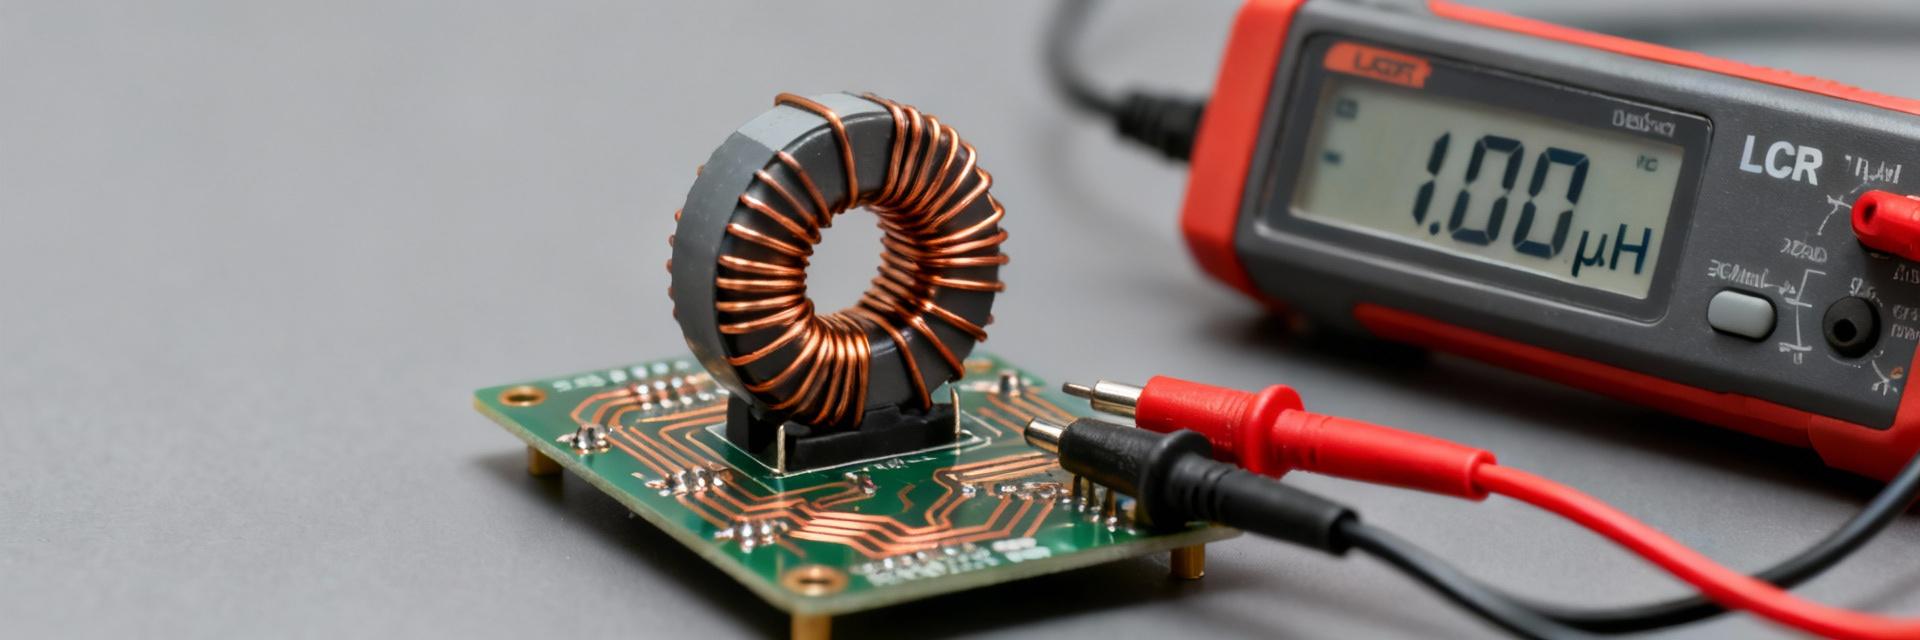
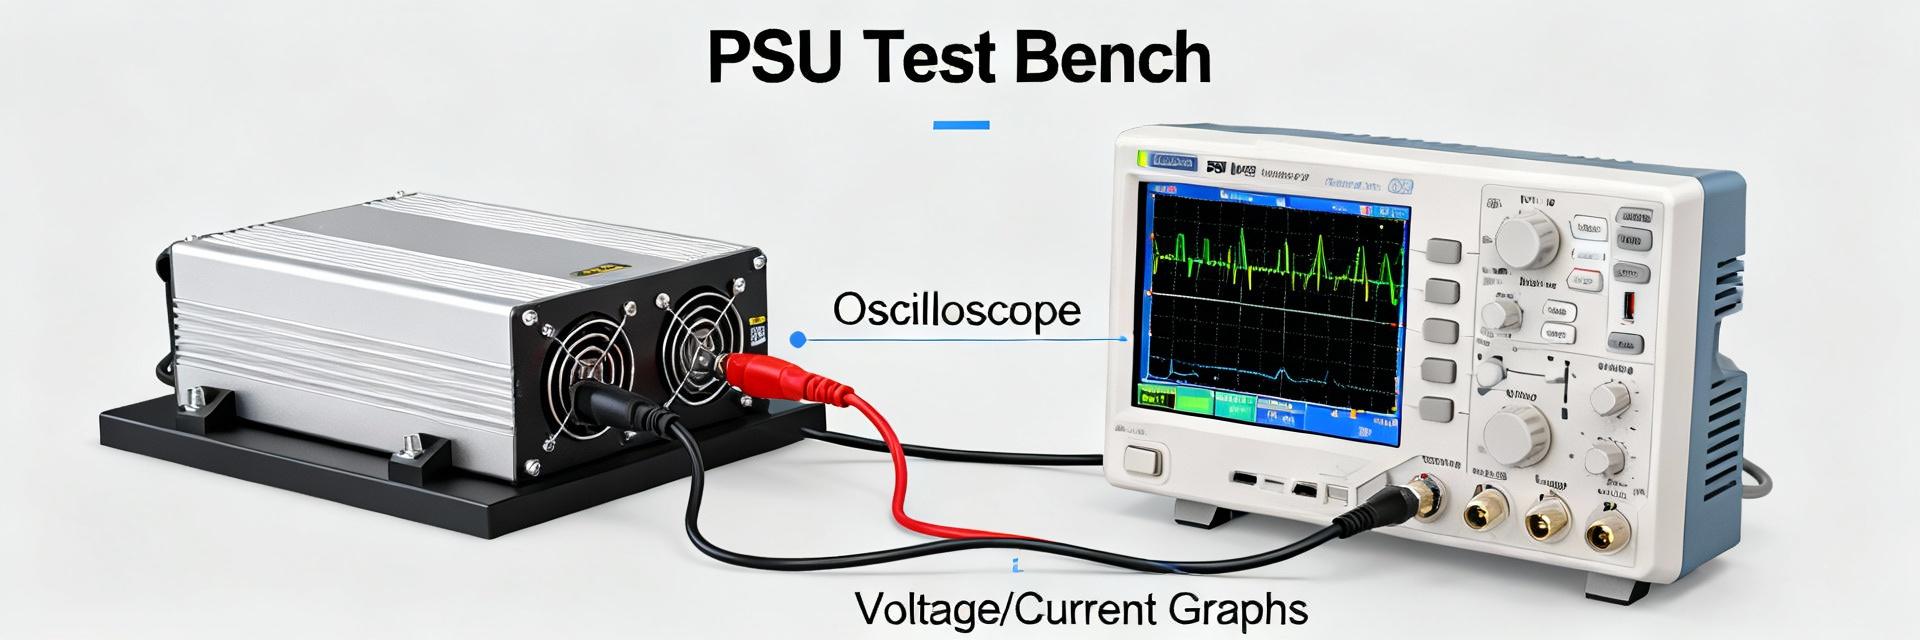
Quick bench tests
Point: Run L vs DC bias sweep, 4-wire DCR, thermal-rise at expected current and an EMI pre-scan on the target board.
Evidence: Acceptance criteria like
Explanation: Document test setup (ambient, copper area, probe method) and keep results tied to lot numbers to detect manufacturing variance early.
Summary
Choosing the right power inductor means matching inductance, Irms/Isat, DCR and SRF to thermal and mechanical constraints, then validating quickly on the bench; apply a define→shortlist→test flow so parts such as 784771100 are proven in your design before volume buy and the selected power inductor meets in‑system targets.
- Define constraints and derate peak current by 20–50% to avoid saturation; document values before parts search for consistent comparison.
- Prioritize Irms/Isat and DCR, then SRF and size; use shielded options when radiated EMI is a constraint but verify DCR trade-offs.
- Shortlist 2–3 candidates like 784771100, run L vs DC bias, 4‑wire DCR and thermal-rise tests, and accept only parts that meet documented acceptance criteria.
Frequently asked questions
How does 784771100 compare to alternatives when choosing a power inductor?
Compare on inductance under DC bias, Isat margin, DCR at 25°C and SRF relative to switching frequency. Bench-test candidates in the same board footprint and validate thermal rise and in‑circuit ripple to decide whether 784771100 meets transient and steady-state needs for your converter.
What bench tests verify 784771100 will not saturate in my application?
Perform an L vs DC bias sweep with the expected DC current range, measure inductance at peak current, and confirm that inductance drop stays within your acceptable ripple increase. Combine this with a thermal-rise test at continuous Irms to ensure stable operation under load.
Which acceptance thresholds should I set when qualifying 784771100 for production?
Set clear thresholds such as