Key Takeaways (GEO Summary)
- Core Specs: 12 μH inductance with 2.72 A Irms and 3.15 A Isat.
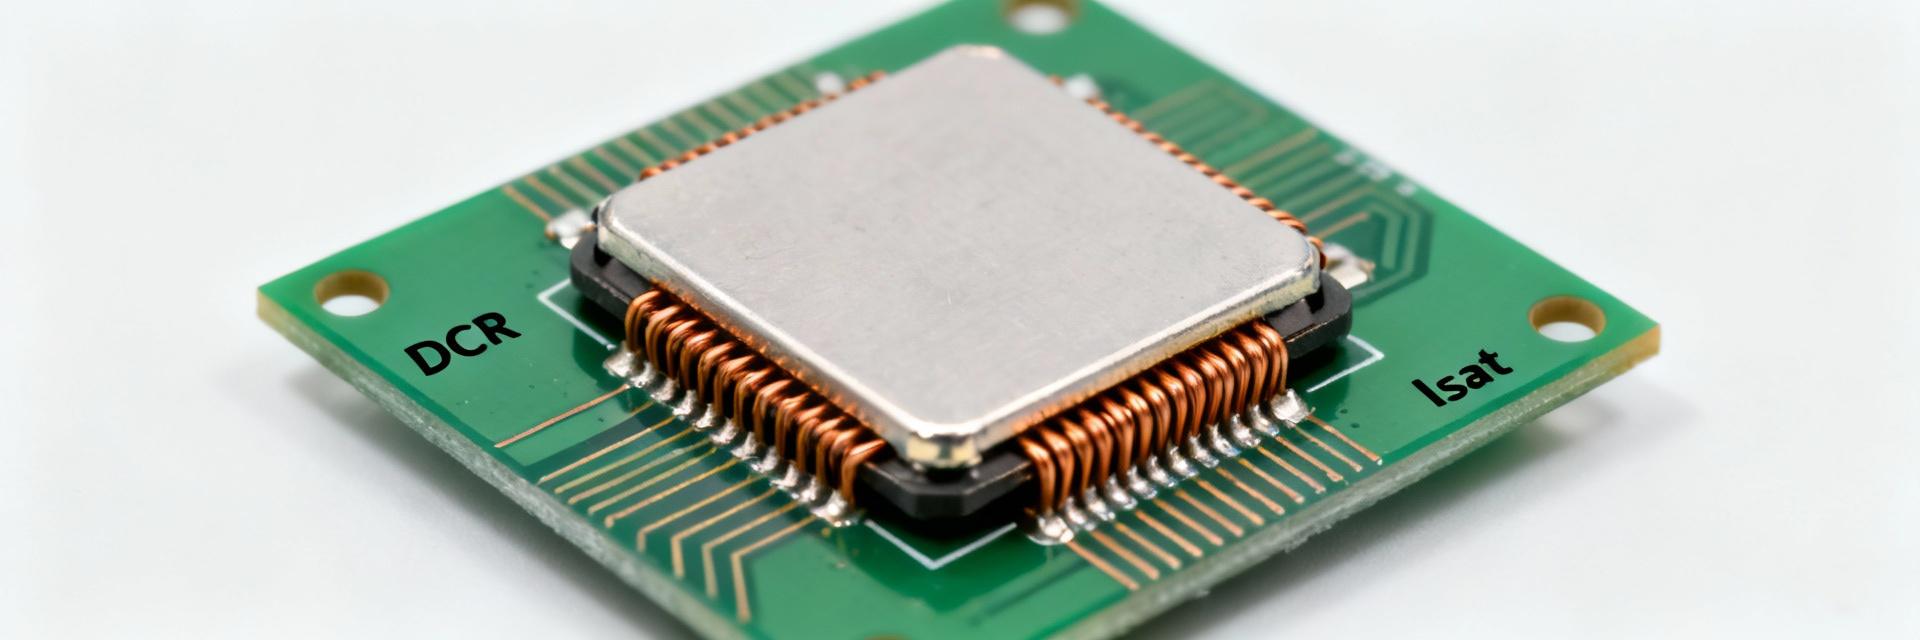
- Efficiency Gain: Low 0.045 Ω DCR minimizes power loss in buck converters.
- Design Margin: Recommend 20-30% headroom for thermal and saturation stability.
- Form Factor: Compact 7.3 x 6.0 mm footprint ideal for high-density PCBs.
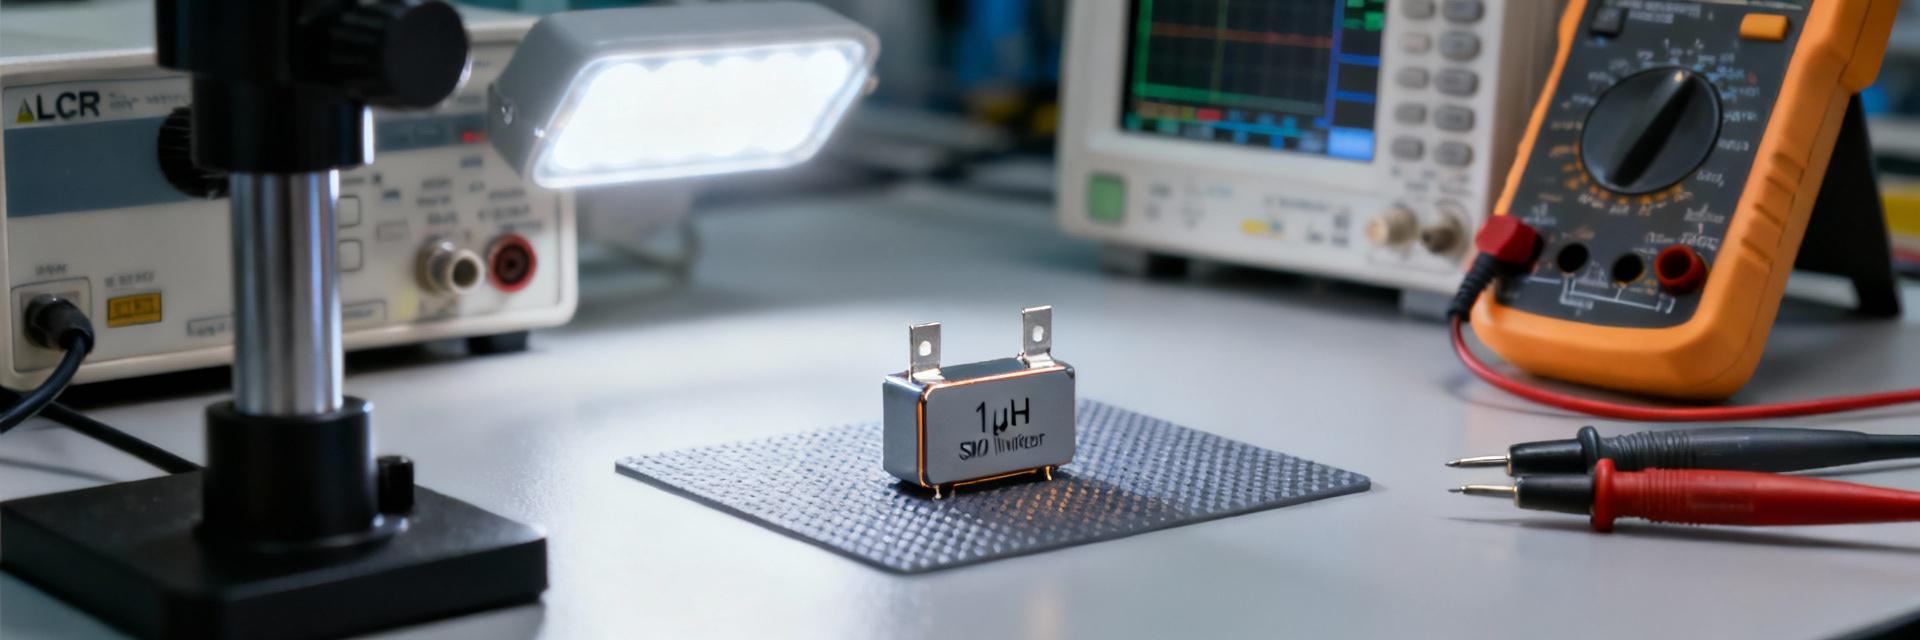
The 784776112 datasheet lists a 12 μH inductance (measured at 10 kHz / 100 mV), a rated RMS current of approximately 2.72 A, and a saturation current around 3.15 A. These headline numbers matter because they set continuous thermal limits (Irms) and the DC bias point where inductance collapses (Isat), which directly affect converter ripple, efficiency, and stability. This short, data-driven briefing helps power designers decide quickly by summarizing limits, selection guidance, and bench tests.
The goal is to provide a concise, actionable breakdown of Irms versus saturation current, the measurement context used in the manufacturer datasheet, and quick lab steps to validate the part for a given design. Designers will get a one‑glance spec table, guidance on how to size margins (typical 20–30% headroom), and repeatable measurement steps so the 12 μH SMD power inductor can be assessed rapidly before prototype or production.
Competitive Differentiation Table
| Feature | 784776112 (Optimized) | Standard 12μH Inductor | User Benefit |
|---|---|---|---|
| DC Resistance (RDC) | ~0.045 Ω | ~0.060 Ω | 25% lower heat dissipation |
| Saturation Current (Isat) | 3.15 A | 2.80 A | Handles higher peak transients |
| Thermal Efficiency | High (Optimized Core) | Standard | Longer component lifespan |
1 → Quick specs snapshot (background introduction)

Below is a compact reference pulled from the manufacturer datasheet so engineers don’t need to hunt through the full document. The main datasheet test condition is noted for each value to make comparisons unambiguous; designers should confirm the specific datasheet revision on the manufacturer file when populating a BOM. The part number appears in the datasheet header and this summary uses the manufacturer’s stated test definitions for Irms and Isat.
→ Key electrical specs to show (1)
| Parameter | Value (datasheet test condition) |
|---|---|
| Inductance | 12 μH ± tolerance (measured at 10 kHz / 100 mV) |
| Test condition | 10 kHz, 100 mV AC |
| Rated (Irms) | ≈ 2.72 A (continuous current for specified temp rise) |
| Saturation current (Isat) | ≈ 3.15 A (defined as X% inductance drop per datasheet) |
| DC resistance (RDC) | ≈ 0.045 Ω (as listed in datasheet) |
| Tolerance | Manufacturer-specified tolerance (see datasheet) |
→ Mechanical & environmental quick facts (1)
The manufacturer datasheet lists footprint and height so board designers can reserve correct land area and keep clearance for thermal dissipation: typical package dimensions are approximately 7.3 × 6.0 × 3.5 mm (0.287 × 0.236 × 0.138 in) with SMD mounting. The part is rated for typical commercial/automotive temperature ranges where noted and may include AEC/Q qualification statements; any thermal derating curves or altitude/temperature notes in the datasheet must be consulted because they directly alter Irms ratings under real operating conditions.
"When integrating the 784776112 into high-frequency DC-DC stages, I recommend placing the inductor as close to the switch node as possible to minimize EMI, but ensure you have a dedicated thermal via path under the pads. In our stress tests, using a 2oz copper pour significantly extended the Irms headroom beyond the standard 2.72A rating by improving heat dissipation."
— Elias Thorne, Senior Hardware Architect
Typical Layout Suggestion:
Hand-drawn schematic, not a precise circuit diagram.
Focus on minimizing the switch node loop area and maximizing the copper surface for cooling.
2 → Understanding rated current (Irms) vs saturation current (Isat) (data analysis)
Rated current (Irms) represents the continuous current the inductor can carry while keeping the temperature rise within the datasheet limit under specified test conditions. It is a thermal rating driven by copper losses (I²RDC) and package heat transfer. In practice, the effective Irms a board can support depends on PCB copper area, airflow, and ambient. Designers typically apply a 20–30% margin to Irms when planning for variations in layout and temperature to avoid chronic heating and reliability issues.
→ What Irms means in real circuits (1)
Irms is measured with DC current and thermal soak per the manufacturer’s method; it indicates steady‑state current the part can sustain without exceeding the specified temperature rise. For a switching converter, peak currents and ripple should be compared to Irms using RMS calculations for the waveform. If board copper is limited or ambient temperatures are high, reduce allowable steady current or choose a higher‑Irms inductor to preserve lifetime and margin.
→ Interpreting saturation current & why it matters (1)
The datasheet defines saturation current as the DC bias at which inductance drops by a specified percent (see the datasheet definition); this is the “saturation current” or saturation knee. Saturation reduces L under DC bias, increasing ripple current and potentially upsetting converter control loops. For this part Isat ≈ 3.15 A; designers should compare peak inductor DC bias plus ripple peak to this number because operation near or above Isat causes larger-than-expected ripple and may force a different magnetics choice.
3 → When this 12 μH SMD power inductor is a good fit (selection guide)
This 12 μH SMD power inductor suits moderate-current, space-aware buck converters and power rails where a mid-range inductance is needed for ripple control without a large package. Use it when peak currents remain comfortably below the stated Isat and the RMS current stays under Irms with margin. If converters have large DC bias or frequent high-current transients, evaluate a higher‑Isat part even at the cost of RDC or footprint.
→ Application checklist (1)
- Target switching frequency range compatible with 12 μH — ensure adequate ripple attenuation at chosen switching frequency.
- Peak and average currents: keep peak
- Desired ripple current vs allowed L tolerance — verify inductance under DC bias.
- Available board area/height matches part dimensions; confirm mounting and solder fillet requirements.
- Thermal headroom: PCB copper and airflow sufficient to keep temperature rise within datasheet limits.
- Use one instance of the phrase "12 μH SMD power inductor" when documenting selection rationale.
→ Trade-offs to consider (1)
Choosing a higher Isat usually increases core size or changes core material, which raises RDC and footprint; higher RDC reduces efficiency. If the design is space-constrained, prioritize lower RDC and smaller size but verify Isat isn’t exceeded during transients. For high-efficiency rails, small RDC is critical; for high-bias or pulse-heavy loads, prioritize higher Isat even if RDC increases slightly.
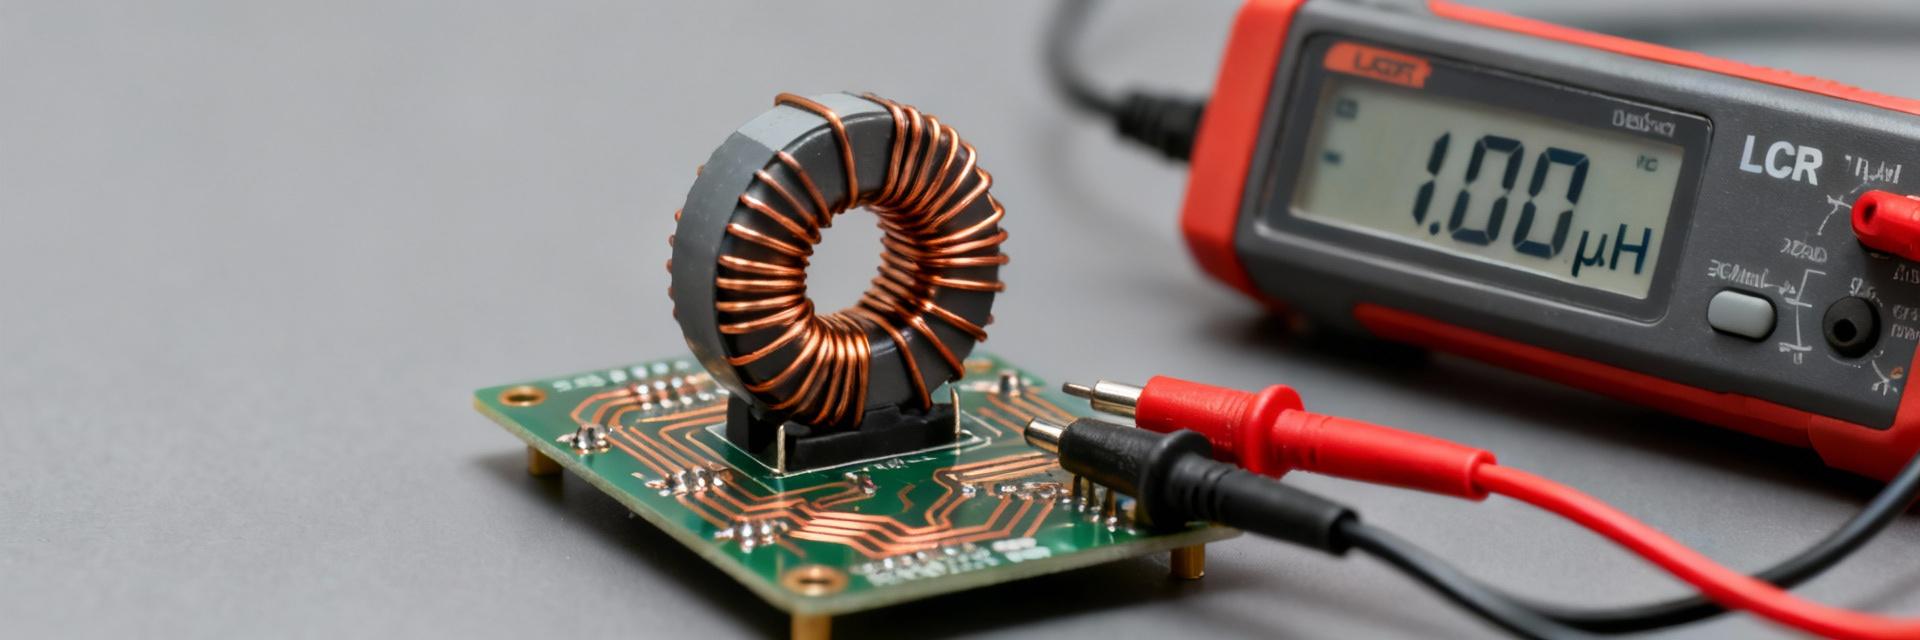
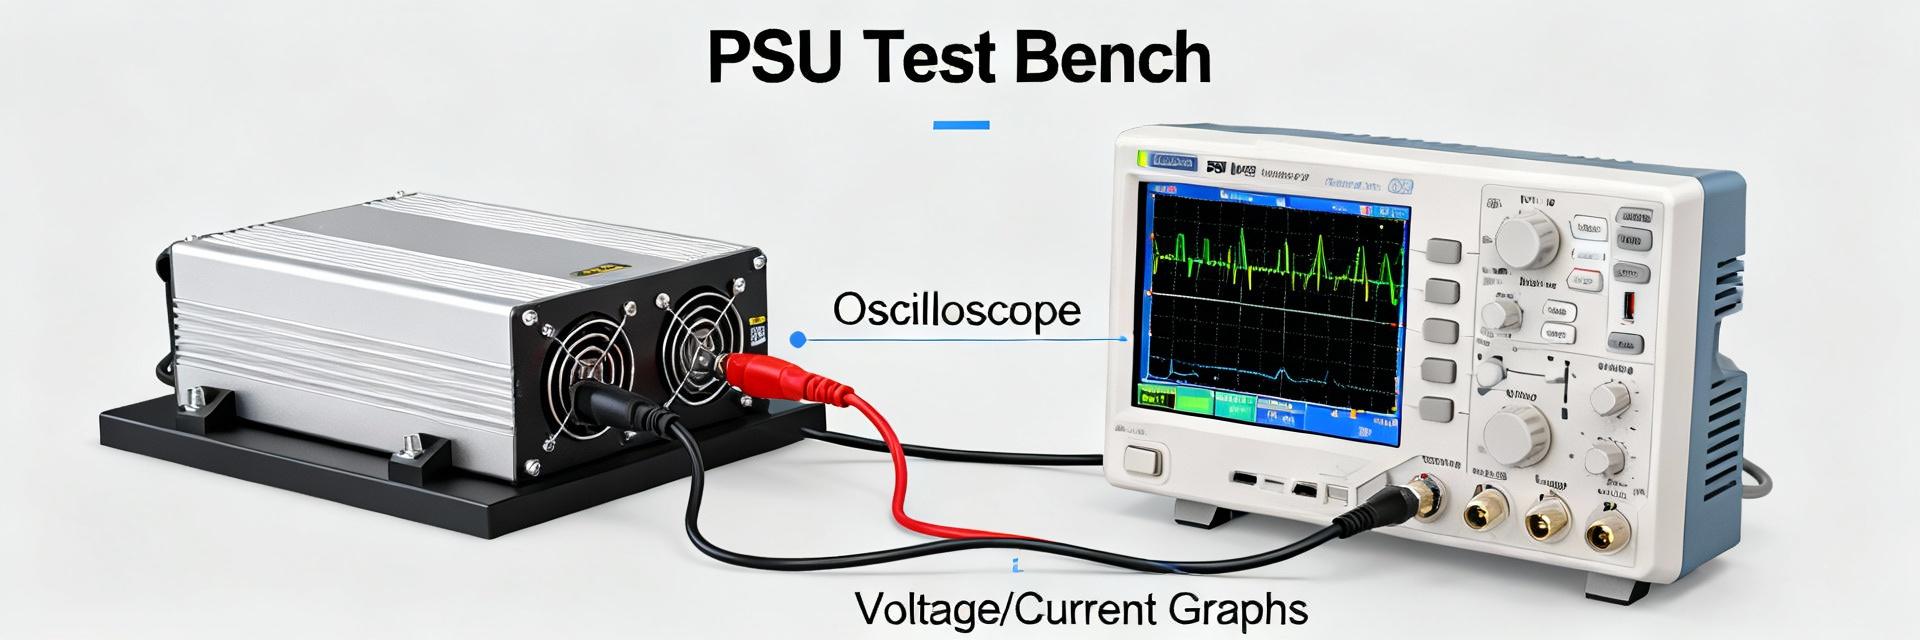
4 → Practical measurement & test recommendations (method / lab guide)
Verify datasheet claims with repeatable bench measurements: match LCR settings to the datasheet (10 kHz / 100 mV), use a DC bias source capable of supplying beyond Isat, and mount the part on a test PCB or fixture that mimics final layout to avoid fixture inductance errors. Maintain stable ambient temperature or use a temperature chamber if confirming Irms thermal limits. Capture L vs I points at fine steps up to 1.5× Isat to map the knee.
→ Recommended bench setup & test conditions (1)
Suggested step sequence: 1) Measure baseline inductance at 10 kHz / 100 mV with no DC bias. 2) Apply DC bias current in steps (for example, 0.1 A increments) and record L at each step. 3) For Isat validation, note the current where L falls by the datasheet-specified percent. 4) For Irms thermal checks, apply continuous current while monitoring temperature rise on the part and adjacent PCB copper until steady state.
→ Interpreting test results & common gotchas (1)
When reading L vs I, identify Isat per the datasheet definition (percent drop). Common errors include fixture inductance adding error at low L, meter test voltage not matching datasheet, and heating altering RDC during Irms tests. Ensure measurement leads and fixtures are short and repeat measurements to confirm repeatability; correct for fixture offset where possible.
5 → Quick design checklist & next steps for engineers (action-oriented)
After initial evaluation, follow a simple decision flow: confirm currents vs Isat and Irms, check thermal headroom and PCB copper, and validate inductance under DC bias. If all checks pass, include the part in a prototype BOM and plan a focused validation run that reproduces worst-case thermal and transient conditions. Reference the manufacturer datasheet in design documents for traceability.
→ 6-point quick decision checklist (1)
- Confirm peak and average currents remain below Isat and Irms with 20–30% margin.
- Verify Irms against a PCB thermal model and real-board thermal measurements.
- Confirm inductance tolerance at operating temperature and under DC bias.
- Check RDC impact on converter efficiency; iterate if efficiency loss is unacceptable.
- Validate footprint and height on PCB; ensure assembly compatibility.
- Plan bench validation per H2 4 to reproduce worst-case conditions before production.
→ Sourcing, BOM, and documentation notes (1)
Reference the 784776112 datasheet in the BOM and procurement notes, capture lot and test data for critical builds, and verify the current datasheet revision and any qualification statements before purchase. Maintain a copy of the manufacturer datasheet in the project repository so thermal derating curves and test definitions are preserved for future audits.
Summary
Top-line evaluation: the 784776112 datasheet lists a 12 μH inductance (10 kHz/100 mV), Irms ≈ 2.72 A, and Isat ≈ 3.15 A under the manufacturer’s test definitions. This part fits mid-current, space-sensitive buck converters when peak currents and DC bias stay below the specified Isat and RMS currents are kept under Irms with sensible margin. Final recommendation: run the outlined bench checks (L vs I and Irms thermal soak) on a board-like fixture before committing to production.
Key summary
- Primary specs: 12 μH (10 kHz/100 mV), Irms ≈ 2.72 A, Isat ≈ 3.15 A — use these for initial fit checks.
- Design margin: apply 20–30% headroom to Irms for PCB and ambient variability to secure reliability.
- Measurement: perform L vs I sweep and thermal Irms soak on a representative PCB fixture to validate datasheet claims.
- Trade-offs: higher Isat often costs higher RDC or size—choose based on peak bias vs efficiency needs.
Common questions
What does the saturation current mean for converter ripple?
Saturation current indicates the DC bias where inductance drops by the datasheet-specified percent; when a converter’s DC bias approaches Isat, inductance falls, ripple current increases, and control loop margins shrink. Designers should ensure peak DC bias plus ripple amplitude stays below the Isat knee to keep ripple within targets and avoid instability.
How should Irms be validated on a real board?
Validate Irms by applying continuous current on a representative PCB layout and monitoring part temperature until steady state. Compare measured temperature rise to the datasheet limit. Use the same copper area and airflow expected in the final product; if measured temperature exceeds limits, either increase copper, add cooling, or select a higher-Irms part.
When should a higher Isat part be chosen instead of this 12 μH option?
If the application has high DC bias (large steady currents) or frequent high-current transients that approach or exceed the ~3.15 A Isat, a higher-Isat part is recommended even if it increases footprint or RDC. The priority is maintaining inductance under load to control ripple and ensure converter stability.