Key Takeaways for Power Designers
- Ripple Control: 6.8uH optimizes efficiency for 200kHz-1MHz switching frequencies.
- Thermal Gain: Lower DCR (
- Saturation Buffer: Isat should be 20-30% above peak ripple for transient stability.
- Form Factor: Molded cores offer 30% higher current density than traditional ferrite.
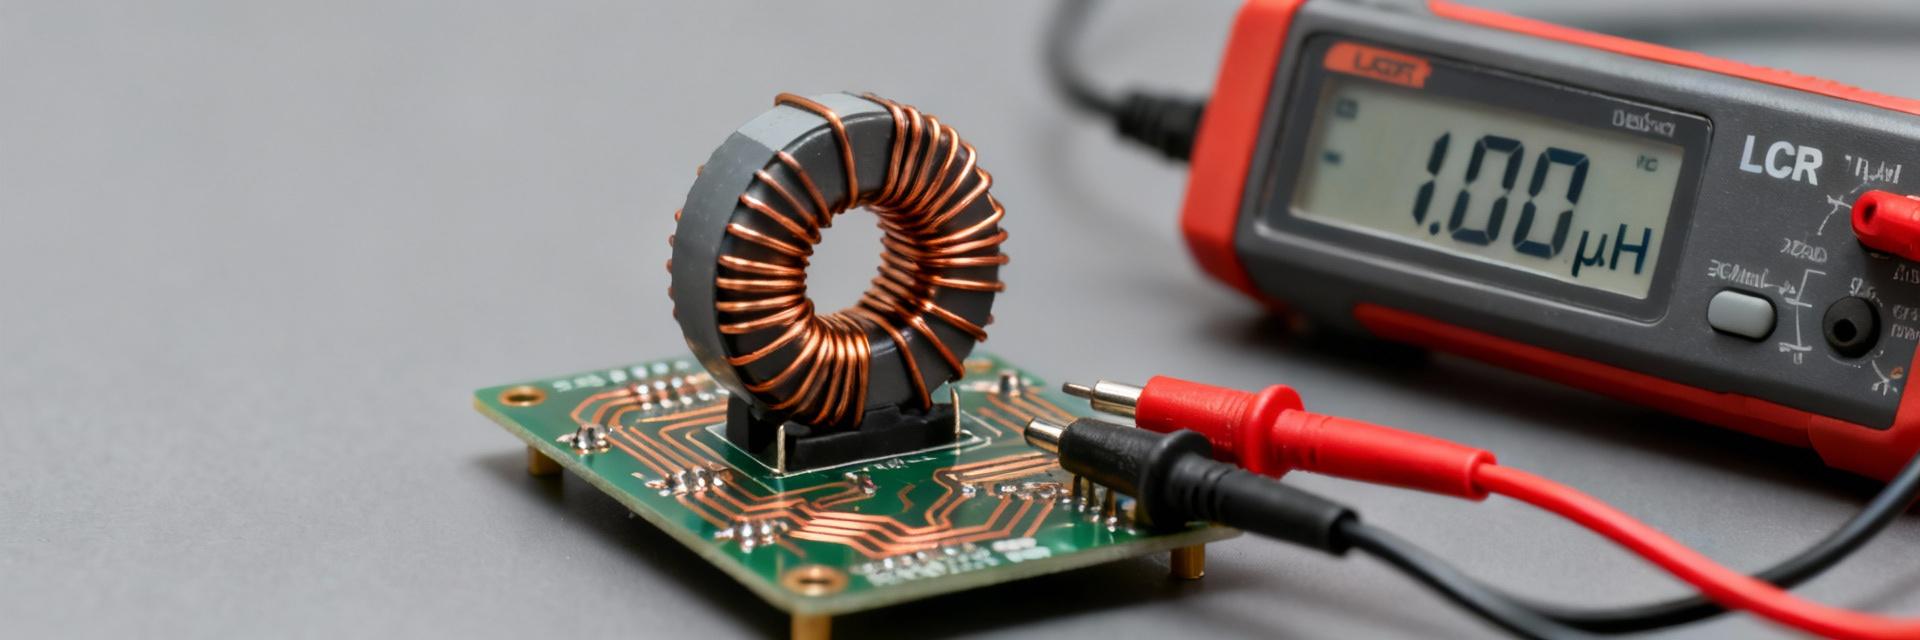
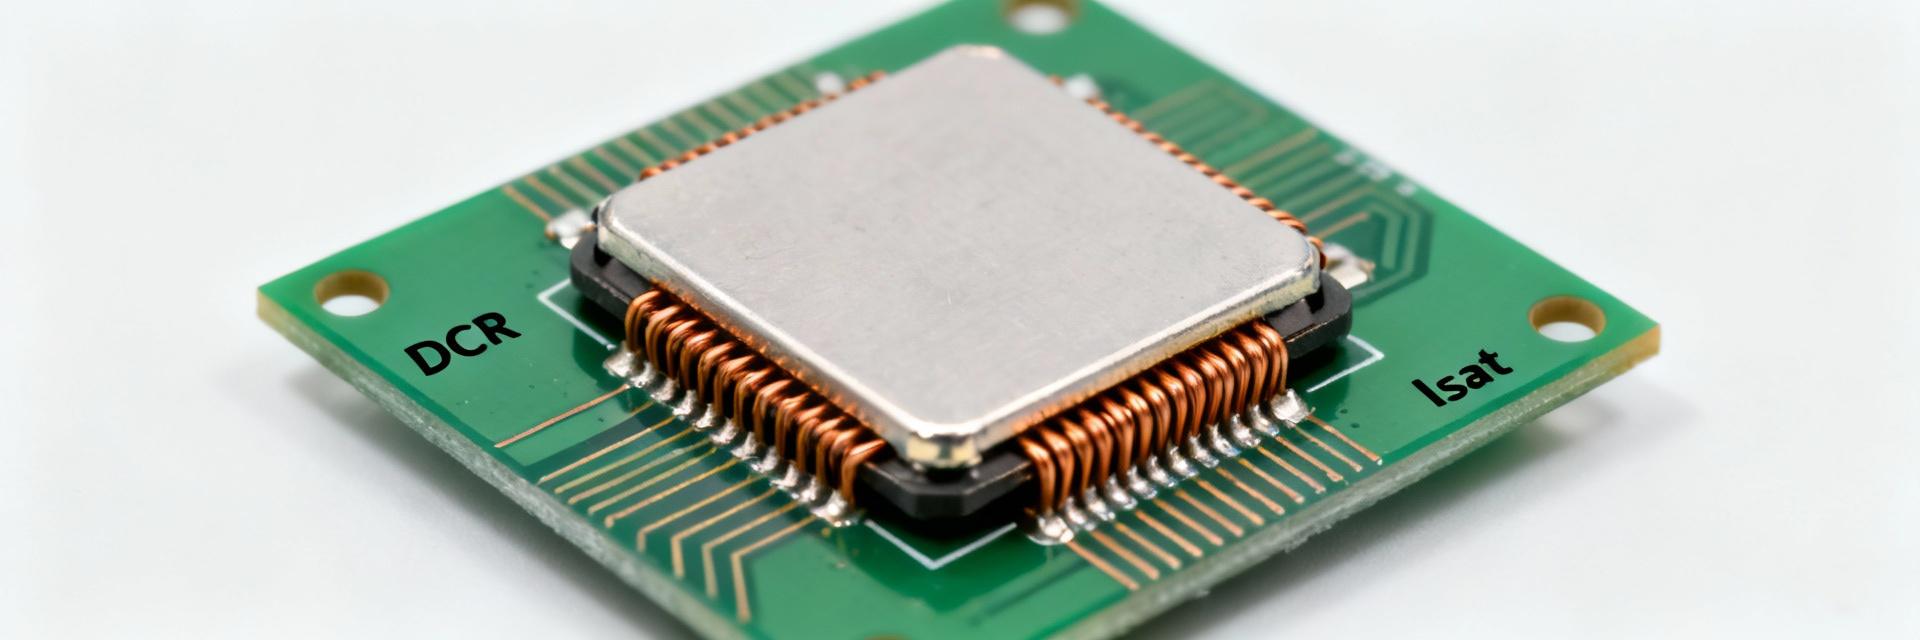
Recent bench surveys show that 6.8uH SMD power inductors are specified for DC currents from 1A to 10A+. For power designers, precise ripple control and thermal stability are not just specs—they are the foundation of device longevity and efficiency.
1 — The Power Stage Advantage

Low DCR design translates to extended battery life in portable electronics by minimizing I²R losses.
Stable 6.8uH inductance ensures predictable output ripple, reducing stress on downstream capacitors.
2 — Competitive Comparison: 6.8uH Inductor Types
| Feature | Standard Ferrite | High-Current Molded | Low-Profile Thin-Film |
|---|---|---|---|
| DCR (mΩ) | ~45-60 | ~18-25 | ~80-120 |
| Saturation (Isat) | Moderate | High (Soft Sat) | Low |
| EMI Shielding | Partial | Excellent (Integrated) | Good |
| Best Use Case | Cost-sensitive apps | Servers/Automotive | Ultra-slim IoT |
Expert Review: Mark Sterling
Senior Power Integrity Engineer
"When layouting a 6.8uH inductor, I always recommend keeping the 'switch node' copper area as small as possible to minimize EMI, but wide enough to handle the Irms. A common pitfall is ignoring the self-resonant frequency (SRF); if your switching frequency harmonics hit the SRF, you'll see unexpected noise and heating. Always design for at least a 2x margin between SRF and your highest switching harmonic."
3 — Technical Specifications
| Inductance (L) | 6.8 µH ±20% @ 100kHz |
| DC Resistance (DCR) | 22 mΩ (Typ) / 25 mΩ (Max) |
| Saturation Current (Isat) | 6.5 A (L drop 30%) |
| Heating Current (Irms) | 4.0 A (ΔT ≤ 40°C) |
| Operating Range | -40°C to +125°C |
4 — Typical Application Layout
Standard Buck Converter Placement
PCB Layout Optimization:
- Shorten the High-di/dt Loop: Minimize the path between the IC, inductor, and output capacitor.
- Thermal Vias: Place vias near the inductor pads to sink heat into internal ground planes.
- Keep-out Zones: Avoid routing sensitive feedback lines directly under the inductor.
5 — Designer & Sourcing Checklist
- Validate Saturation: Does your peak current (I_peak) stay below the 30% drop point?
- Check Thermal Headroom: Will the ΔT stay within safe limits at maximum ambient temperature?
- SRF Verification: Is the Self-Resonant Frequency at least 10x your switching frequency?
- Traceability: Does the supplier provide lot-specific L vs. I curves?
- AEC-Q200: If for automotive, is the part fully qualified for high vibration/shock?
For detailed test reports or custom 6.8uH inductor configurations, contact your technical sales representative.