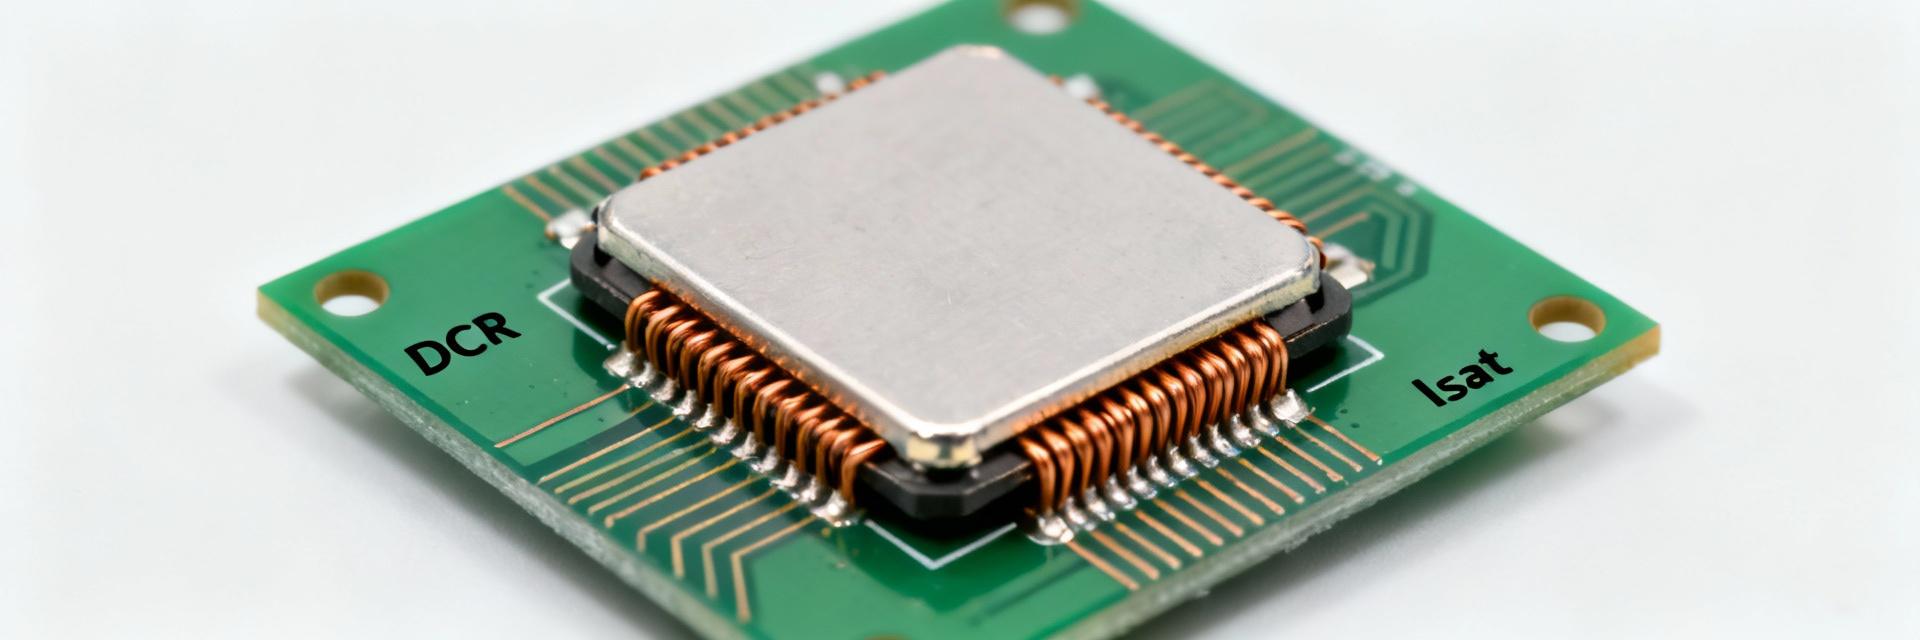
Bench-stat hook: Typical DC resistance (DCR) for 12µH SMD power inductors commonly ranges from ~20 mΩ to 300 mΩ depending on package and rated current, while saturation current (Isat) and usable current (Irms) typically span 3–15 A; those ranges directly influence converter efficiency and thermal headroom, making them critical for DC‑DC designs. This note delivers a concise performance snapshot and reproducible bench data plan for practical selection.
The goal is to provide a clear performance snapshot, share reproducible bench data and actionable selection criteria so designers can rapidly compare parts, predict efficiency impact, and specify margin for transient currents using a standard test matrix.
1 — Why a 12µH SMD power inductor matters for modern DC‑DC designs (Background)
Point: A 12µH SMD power inductor is often selected where moderate energy storage is needed without excessive footprint.
Evidence: In synchronous buck converters targeting medium switching frequencies, 12µH balances energy per switching cycle and ripple current.
Explanation: Choosing 12µH trades off size versus current capability — higher inductance reduces ripple but often requires larger cores with higher DCR and lower Isat, so designers must match inductance to switching frequency and transient profile.
1.1 Typical application contexts and design trade-offs
Point: Common uses include buck converters, post‑regulation filters, and localized EMI suppression.
Evidence: In buck converters, 12µH provides energy storage for moderate load steps while staying compact for surface‑mount designs.
Explanation: Electrical trade‑offs include inductance vs. saturation current (higher L often reduces Isat), DCR vs. efficiency (lower DCR reduces I²R loss), and footprint/height constraints that affect thermal dissipation and allowable current.
1.2 Key electrical parameters that determine real‑world performance
Point: Parameters to prioritize are L vs. DC bias, Isat, Irms, DCR (at 25 °C), core losses, and thermal rise.
Evidence: L drops under DC bias; Isat defines when L collapses; DCR produces I²R loss and heat.
Explanation: Use equations: P_DCR ≈ I_rms²·DCR for winding loss and estimate temperature rise via thermal resistance; core loss increases with frequency and flux swing, degrading efficiency at high switching frequency or under large AC current components.
2 — Technical specs & expected behavior: datasheet vs. real life (Data analysis)
Point: Datasheets contain useful anchors but require scrutiny.
Evidence: Inductance is usually stated at a test frequency and low test current; Isat may be defined at a specific % drop (e.g., 10% L drop) and DCR at 25 °C.
Explanation: Prioritize L@test current and DCR figures with stated conditions; treat unspecified tolerance, temperature coefficient, and measurement frequency as caveats. Cross‑check with bench data for design confidence.
2.1 Datasheet specs to prioritize (and those to treat skeptically)
Point: Trust L vs. test current, DCR@25 °C, and clear Isat definition most.
Evidence: Vendors often publish L at 100 kHz/1 kHz and list Isat as current causing X% inductance drop.
Explanation: Be skeptical of unspecified measurement frequency, low‑current L values, and vague Isat definitions; require DCR tolerance and thermal derating details for thermal budgeting. Use the part’s specified measurement conditions to compare apples‑to‑apples.
2.2 Real‑world behavior: inductance under DC bias and frequency
Point: Inductance typically falls with DC bias and shows frequency‑dependent impedance.
Evidence: Expect L to drop progressively from zero to rated current — often 20–70% decrease before Isat.
Explanation: Measure L% vs. DC bias with axes: vertical %L (100% at 0 A) and horizontal DC current (0 → max rated) in steps; measure impedance magnitude/phase across 10 kHz, 100 kHz, 500 kHz, 1 MHz to reveal core and skin effects and annotate saturation onset where L fall accelerates.
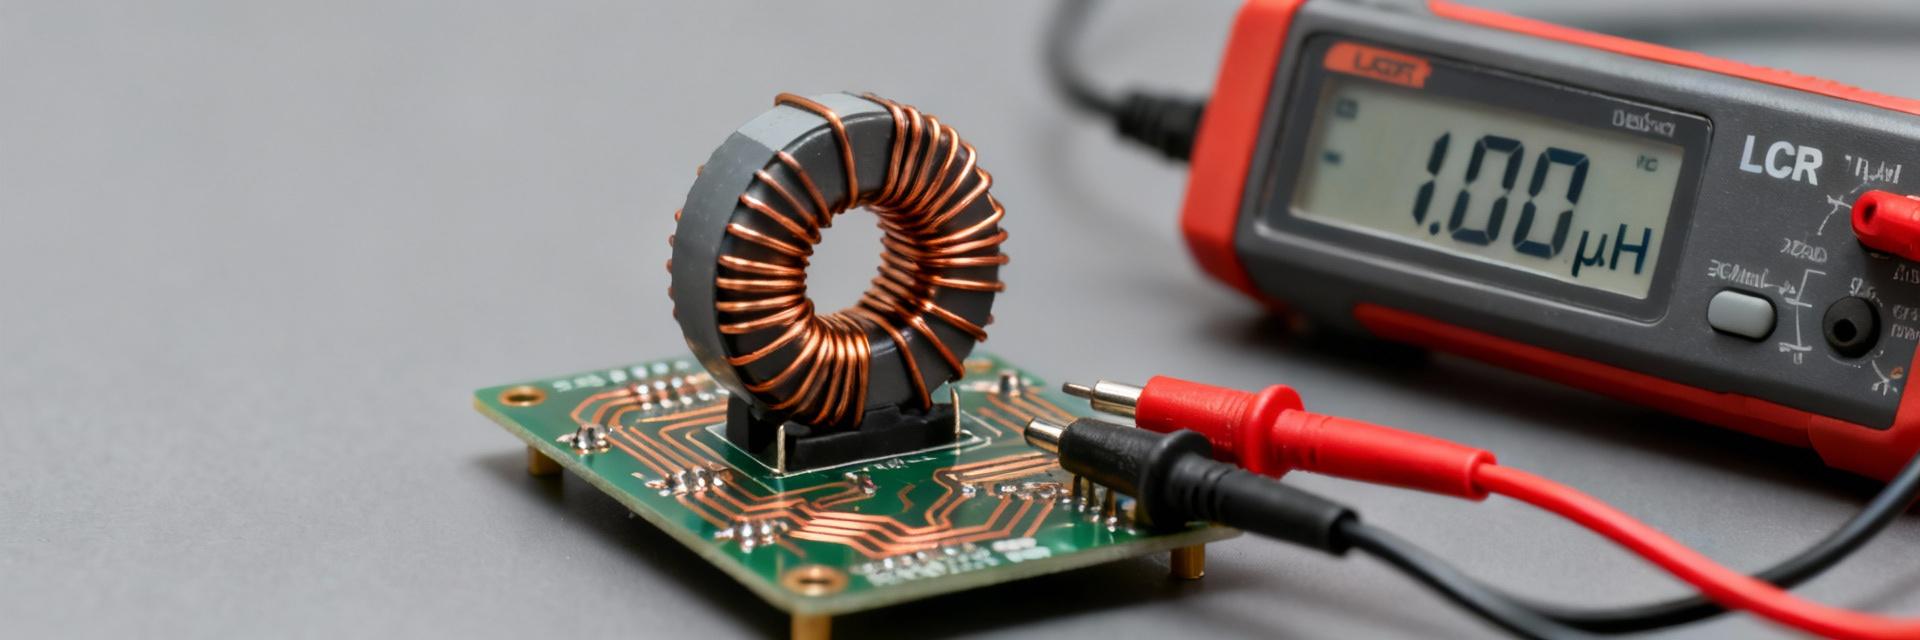
3 — Bench testing methodology & reproducible test setup (Method/bench data)
Point: Reproducible bench data requires defined equipment, fixtures, and conditions.
Evidence: Use an LCR or impedance analyzer, a precision DC current source, thermal sensor, and low‑inductance fixtures to minimize parasitics.
Explanation: Recommended setup: four‑terminal DCR measurement at 25 °C, L vs. I measured at 1 kHz and 100 kHz, impedance sweep 10 kHz–1 MHz, thermal rise with steady Irms and a calibrated thermocouple or thermal camera; document ambient temp and part preconditioning.
3.1 Test equipment, fixtures, and measurement conditions
Point: Required tools include LCR meter, impedance analyzer or VNA, DC current source, scope with current probe, and thermal measurement.
Evidence: Minimizing fixture parasitics (short, wide traces, Kelvin leads) and stable ambient temperature improves repeatability.
Explanation: Use current steps from 0 to max rated in defined increments (e.g., 0.1 A near low end, 0.5–1 A near high end), ensure consistent PCB footprint or test jig and record measurement frequency and instrument models for reproducibility.
3.2 Data collection plan and reporting format
Point: A compact test matrix speeds comparison and sharing of bench data.
Evidence: Suggested matrix: L vs I at 1 kHz and 100 kHz, DCR@25 °C, impedance magnitude/phase 10 kHz–1 MHz, thermal rise at rated current.
Explanation: Report tables with units and instrument settings, graphs for L% vs I and impedance vs frequency, and include precision (e.g., ±1% for L, ±0.1 mΩ for DCR) and environmental conditions to make bench data actionable.
5 — Selection checklist & practical recommendations for designers (Action)
5.1 Quick selection checklist
- Verify usable L under DC bias at your maximum transient current; require margin (20–50%) to avoid saturation.
- Budget DCR in efficiency targets: calculate I_rms²·DCR losses and compare to converter loss budget.
- Confirm Isat definition and thermal Irms; test thermal rise on your PCB footprint.
- Watch for red flags: steep L vs I slope near operating current or unspecified measurement conditions.
5.2 Design and layout tips to maximize performance
Point: Layout and derating preserve inductor performance.
Evidence: Wider copper pours under and around the inductor reduce thermal resistance; short switching loops reduce EMI.
Explanation: Minimize loop area at the switching node, provide generous copper for heat spreading, and follow a derating rule (20–50% Isat margin); verify with the first bench run and iterate layout based on measurements.
Summary
Concise takeaways: a 12µH SMD power inductor offers a practical balance of energy storage and size; verify L vs DC bias and DCR with bench testing to avoid surprises.
- Verify L vs DC bias to identify saturation onset and prevent transient collapse.
- Calculate I²R loss from measured DCR to estimate thermal rise and efficiency impact.
- Derate Isat for transients (20–50%) and confirm Irms thermal limits on your specific PCB.
- Include impedance vs frequency and thermal‑rise plots for decisive part comparisons.
Frequently Asked Questions
How should I test L vs DC bias for a 12µH SMD power inductor?
Measure inductance at multiple DC current steps from 0 up to the part’s rated current using an LCR or impedance analyzer at 1 kHz and 100 kHz; plot %L versus DC current, annotate the current where L falls rapidly, and record instrument settings.
What bench data most affects converter efficiency for a 12µH SMD power inductor?
DCR at the expected operating temperature and Irms determines winding loss via I²R and typically has the largest effect on steady‑state efficiency; core loss from impedance at switching frequency can dominate at high frequencies.
How much Isat margin should I use when selecting a 12µH SMD power inductor?
Use a practical derating of 20–50% on the published Isat depending on transient severity. For frequent large transients choose closer to 50% margin, while controlled spikes may allow smaller margins. Always validate with bench data.